|
|
Rank: Advanced Bloo Milk Member
Groups: Member
Joined: 7/26/2010
Posts: 1,390
Location: Florida
|
Hey all! This is a map that I made for heroclix, the dimensions are slightly off 1.5 inches as opposed to 1 inch squares. And the mechanics are slightly different were you can climb up various levels of terrain, but its quite compatible mechanics, hope you enjoy! Hey guys! With every one making all these AMAZING 3D maps I have become inspired and decided to start working on one of my own. As now I probably have 10+ hours in the project and its my first one its starting to near completion. I'm so excited for it, let me know what you think, ideas and suggestions are appreciated, even constructive criticism! As for the pictures i'll try to make this somewhat of a step-by-step guide to assist any one else who would like to attempt one of there own. I will soon have a picture of all the materials I used as well! Step 1: Pre-Planning For the first part after you cut your foam to the desired length (the map I chose was a 3x3) you should make pen marks on all four sides ever 1.5 inches as so. This will allow you to line up the yard stick across the map and score even lines in to the foam.  Step 2: Gridding The process I used was I lined up my guide lines on the side and along the edge of a yard stick I ran a pen (ball point out) down the foam, though at some places I did run in to tears in the foam because this stuff does have a grain to it, later I used the sharp edge of a metal ruler and left the plastic on the foam (the way it is when you buy it) this worked better and eliminated the tearing, but it cut the plastic sheet in to little squares which were a pain to peel them all off.  Step 3: Water For this part I just dragged a box cutter along the foam and tore it up as such, after a painting I will soon add some clear epoxy to attempt and get that watery look.  Step 4: Painting/Scoring Painting is a large problem I ran in to, be warned SPRAY PAINT EATS YOUR FOAM . Its a terrible tragity. The only paint that doesn't is the H20 Krylon Latex spray paint, but I could only find the cans in red and black, neither of which I needed. So what I found worked is you have to paint EVERYTHING with a semi-thick coat of acrylic paint so when you use your spray your spraying on top of paint, not foam. As for the cliff face, I didnt want to spend 30$ on a hot wire cutter and remembered I had a wood burning kit in the garage, I plugged it in and wallah it works just as well!   Step 5: What the Flock?! The second biggest challenge of the build other than the paint, is the flock or grass terrain. I don't play warhammer and have never used this stuff before and it was a disaster. I used some times I read online which involved mixing water and elmers glue then painting it on and pouring on the flock. I did it and it worked with some success. First problem I ran in to was getting an even coat all over the board, still have to work on that. Second I keep getting these blotchy patches of missing terrain which are hell to fill in because when you use the glue water it tears up all the stuff besides it. Maybe ill look in to what varnish to use as a finish to seal it all in. This stuff is also messy so do it outside unless you have a better method for using it than I do. The biggest, and most painful process of it all was the grass actually filled in all the grid, so I had to go back and run a tip of a pen through EVERYTHING all over again to clear it out, which then tore up patches of the grass. Ooh woe is me.  Step 6: Scenery This is what makes the map pop. And makes it able to be played on! Rocks: What I would up doing was taking two pieces glued together and ground it down on sand paper. But it was so round and smooth, I didnt like it. So I took my wood burner to it and it became awesome. Building: Just 3 layers of foam glued together, and sanded on all sides so they are all even. Ladders: Just some careful crafting with foam To do the color of the rock, which i really liked I painted it black first like always, then I did a coat of brown spray paint and highlighted with gray. *Note* when painting the rocks black it doesn't need to be completely black because the paint may eat in to the foam and give it a cool look.  Step 7: Glue Ill cover this more in my materials section but I use gorilla glue and and its been perfect for what I need it for. One thing that isint necessary with it but to get a better hold (not sure how strong a hold it is if you dont weigh it down). Just set something heavy on it while you glue it, only takes about 2 hours for you to get a solid hold.  Step 8: Almost done! Heres everything that I have got! All im waiting for is my darn trees from China :ermm: then it will be ready for play!   Step 9: Trees from China This part was fun, and alot of waiting. I had to wait a week for my trees from china, and I got the wrong size. So I added a brick of foam to hold each tree and just about double its size. Then I made bases to glue on the board with holes in them so the trees can fit in and be removable for transport or larger characters.   Step 10: Finished map! And some flavor! Here it is!        
|
|
Rank: Advanced Bloo Milk Member
Groups: Member
Joined: 9/19/2008
Posts: 1,740
Location: Orange County, CA
|
Interesting that you took the approach of creating a true board with the majority of your work on it and spending less time on the objects on the board (trees, rocks, structures, etc.) I on the other hand did the Opposite; I used the standard blank sand and metal maps from WOTC and tried to create more solid structures and used plactic trees and real rocks where necessary ..... Some of these pics have been "rescued" from the old WOTC site; My attempts at 3D Terrain "Diorama's" I don't have the time, space or resources to cast/mold anything, so I thought about what could I do with what little I had ...... so, on to my version of a Sith Temple. Never realized how hard 3D is till you try it yourself; so many decisions; Hats off to those who don’t struggle with it like I’ve been doing. I seem to be stuck on which paint schema to go with; a brownish stone fascia on the walls or a grayish brickwork pattern. Do I use a SW brown/gray blank map or a cork sheet painted whichever color I roll with? I’ve done a few walls with both paint schemes; comments on which would be better appreciated. I’m still on the fence about the columns; which color the walls are will dictate the column coloring. I finally got those Ziterdes Statues, which will get a dark gray paintjob. The brown wall picks didn't actually come out well in the pics; they actually have a granular look to them with some other paint I found; not quite the stone finish I tried, but more textured. The color will be painted slightly darker. I’m using a D&D Cloud Giant as a central courtyard statue; not sure if I want to paint over such a nice paintjob. I also found some interesting statues (Ziterdes Statues – Wisdom & Silence) that were interesting.   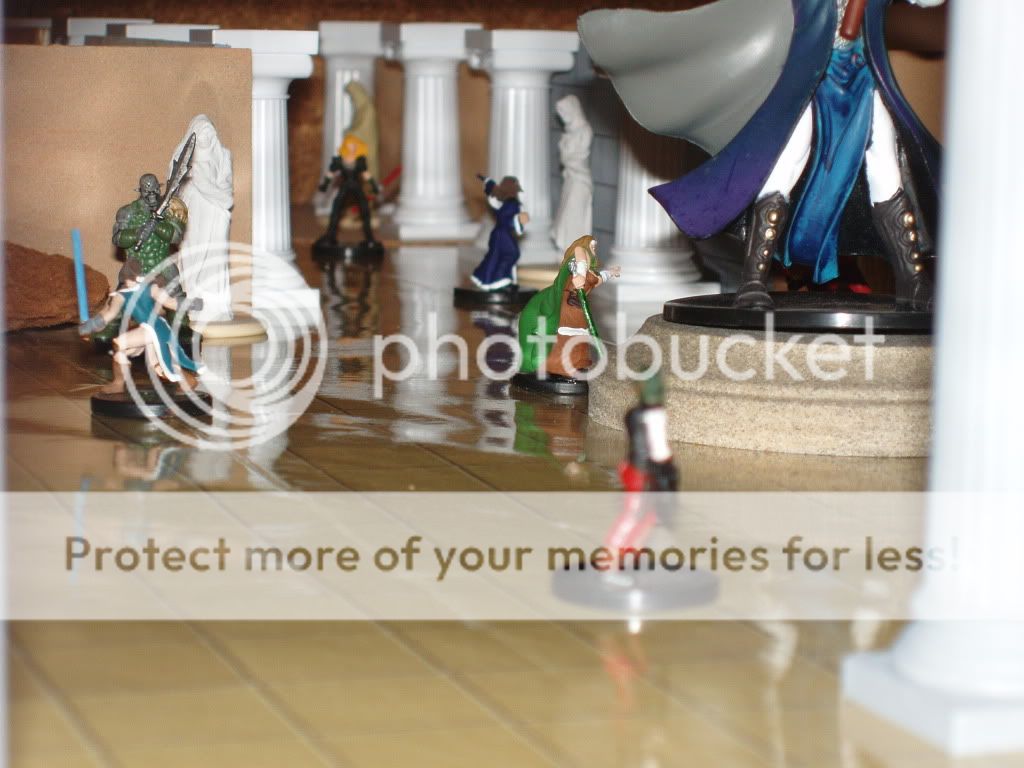  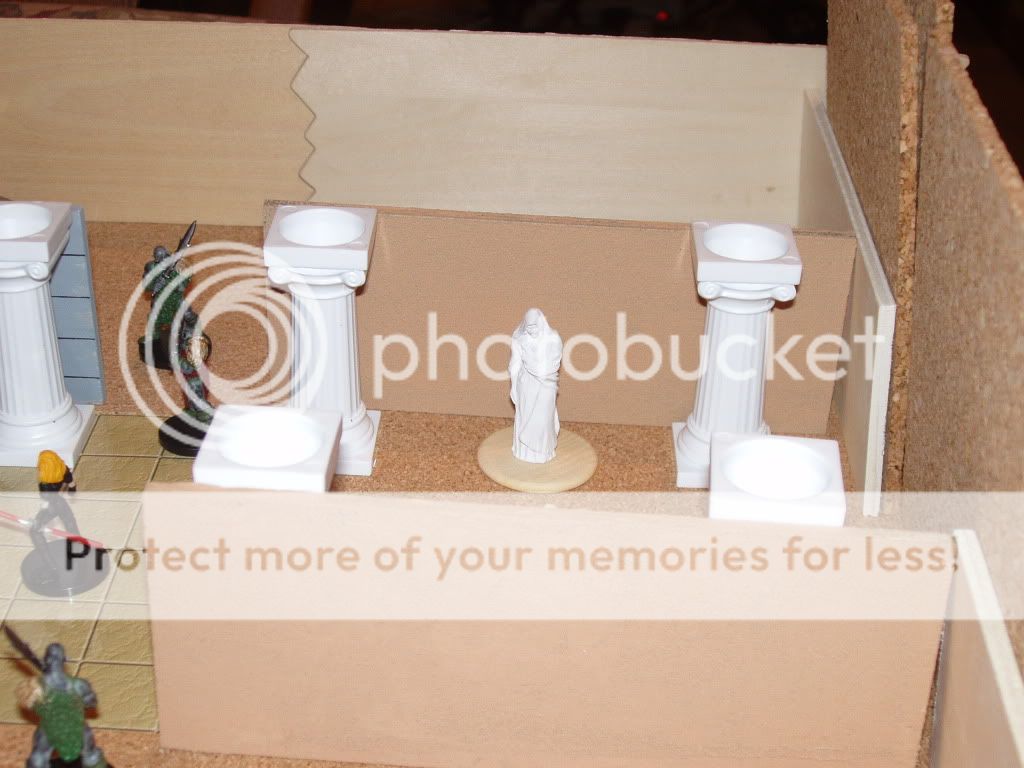   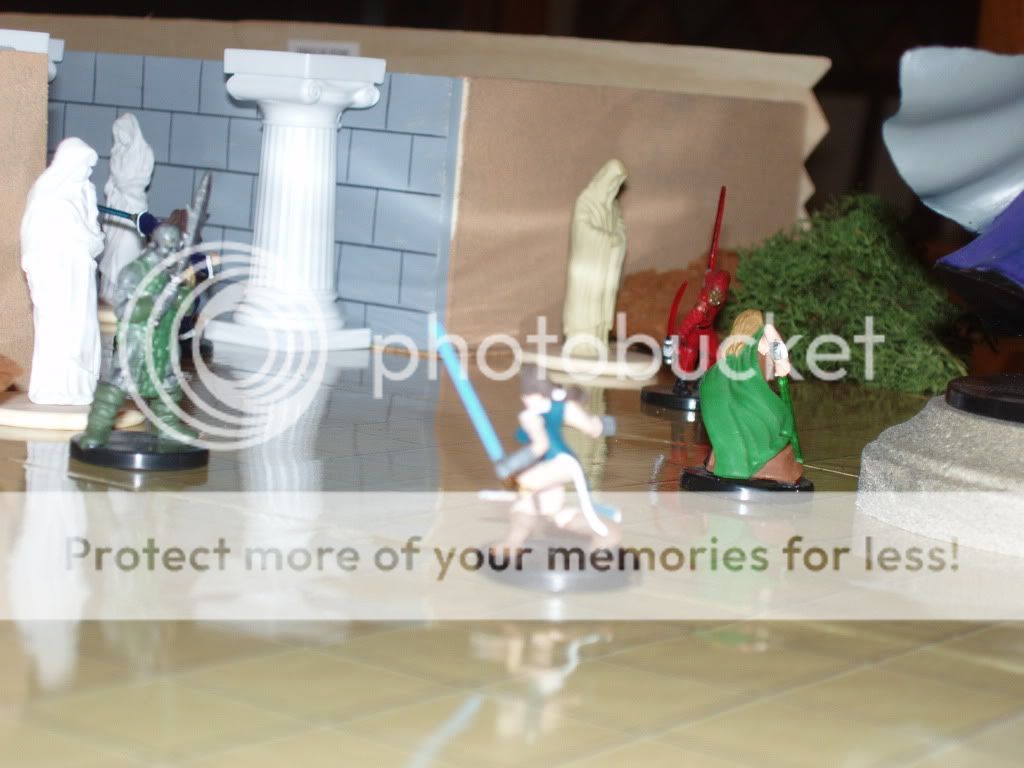 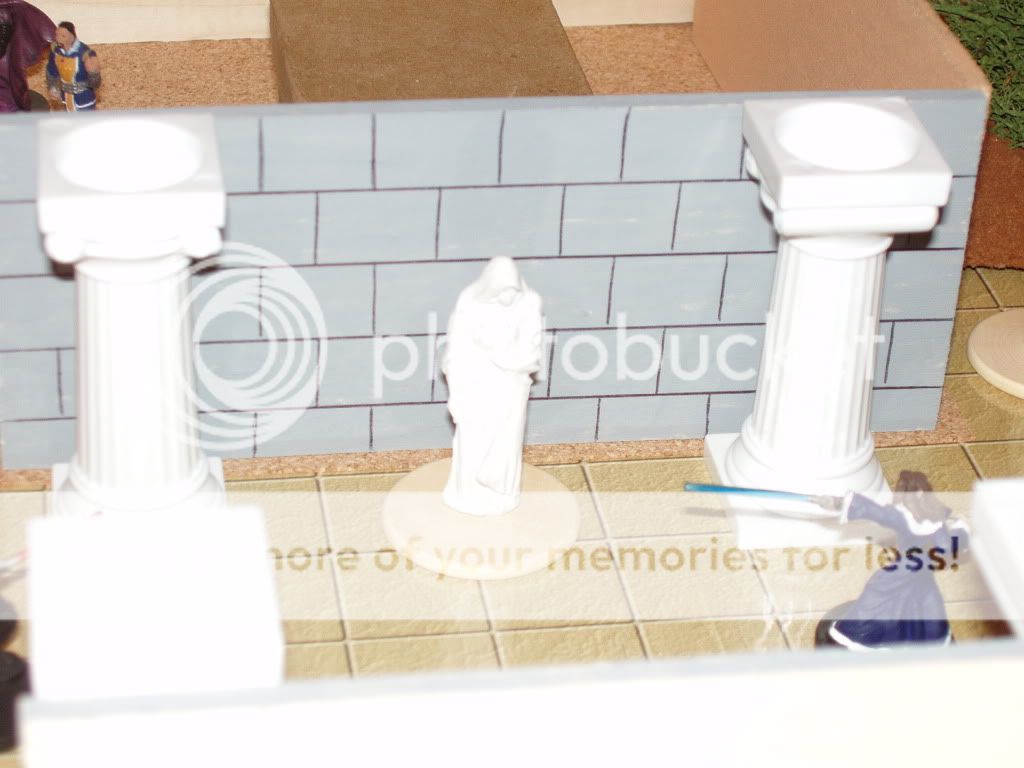   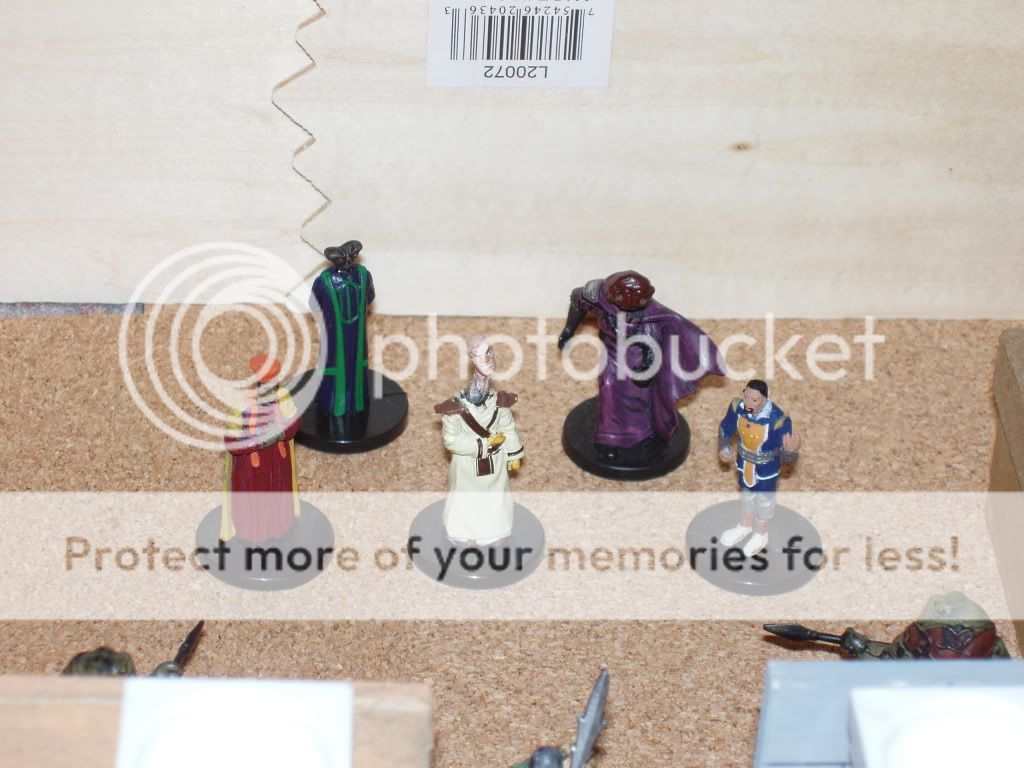 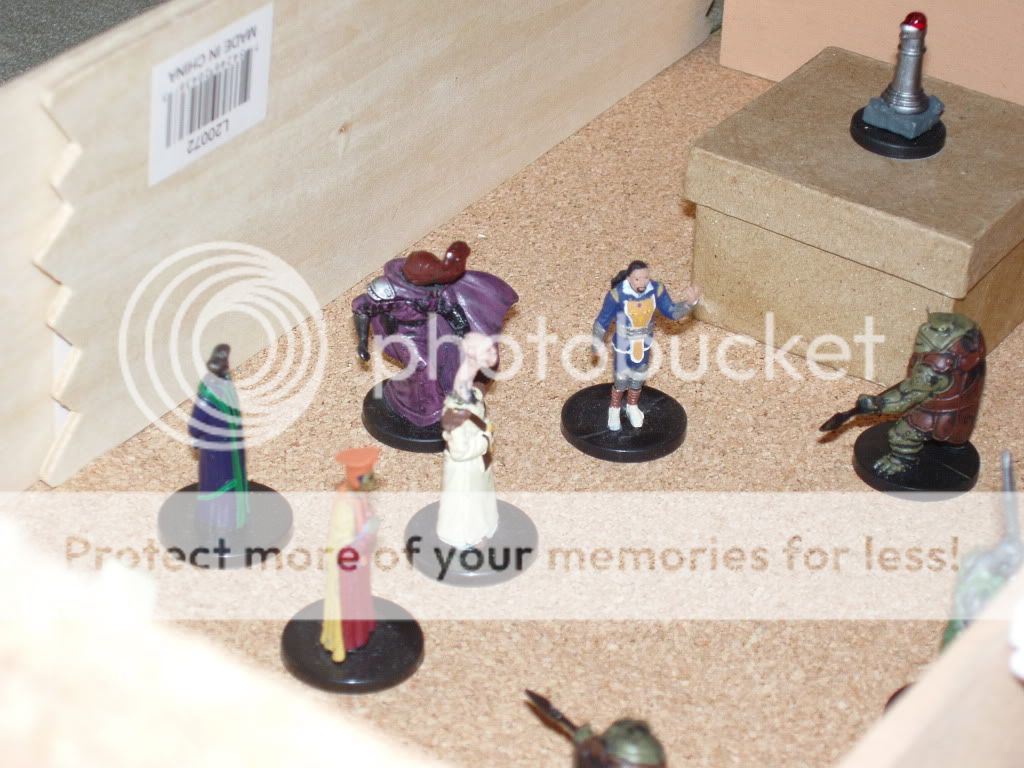   My second diorama was a Smugglers Base of sorts, complete with a landed starship; I think its darn close to the right size for a small 4-man ship. Nothings really painted yet except the starship … some of my custom mini’s are scattered around that are mostly done except for the paint jobs on a few; that Quermian will come out reasonably nice if I finish painting it.  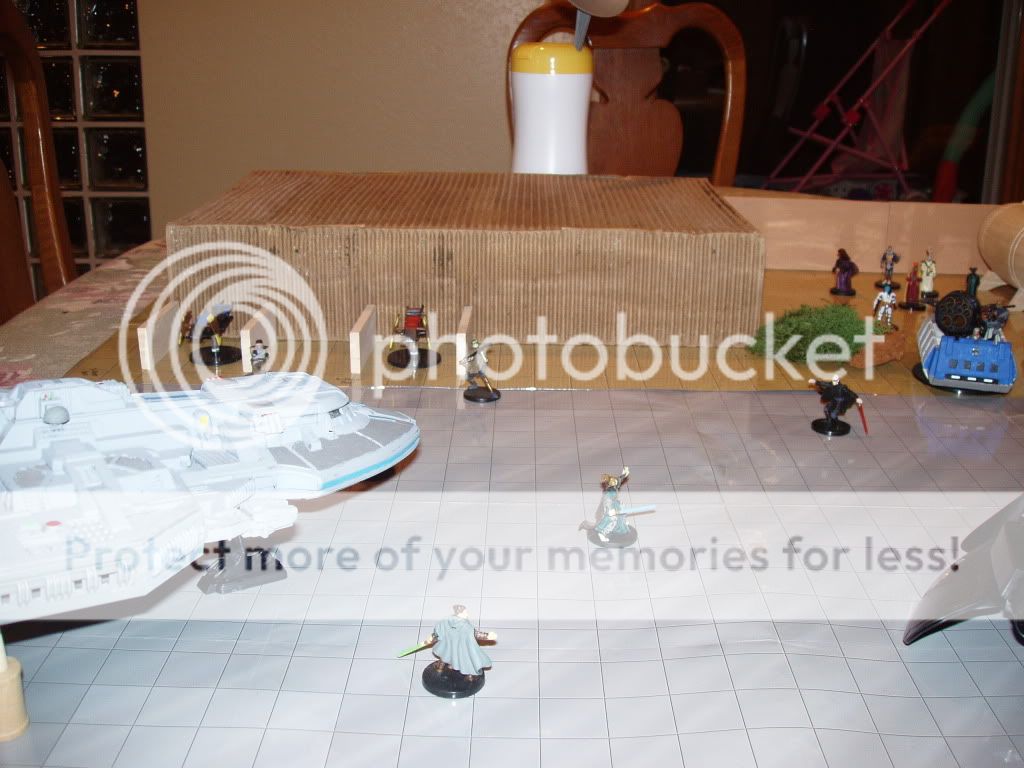  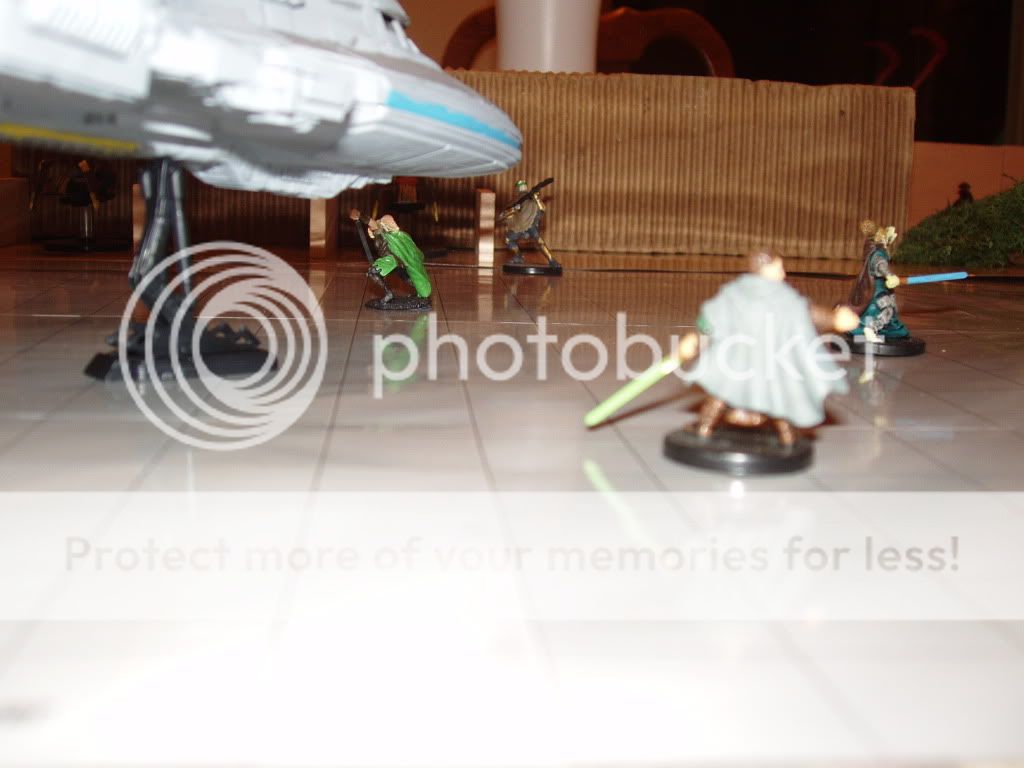        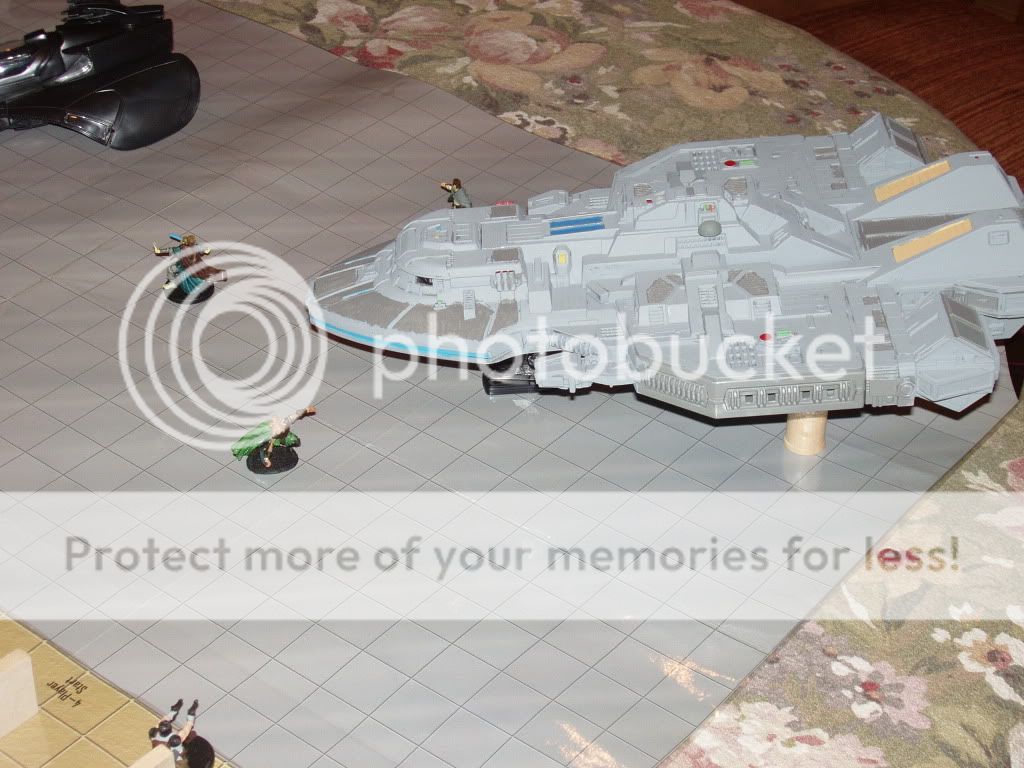 I spent a Lot of time looking for various models to use as part of 3D scenarios and even created a 3D Sep cargoship. This is my favorite pic in that you can actually see 4 ships in the pic. The ship on the left is my old RPG character’s ship, which is actually a “Star Trek Maquis” model close enough in size to be a small ship. It’s on a 40k Landing Pad. The middle ship is my Sep cargo ship (made from a 24” plastic planter box) with Destroyer Droids rolling out. The ship on the right is a Trek “Runabout.”  Another view of the Runabout and a look at the spaceport being invaded by the Sep’s.  A pic of a Star Trek DS9 Defiant model ship that I modified. You can see Anakin hiding on the right edge of the map.  The “car” on the left is a pod racer with engines attached to the front sides.  I wanted to try a new 3D diorama using a couple of AT-AT's, 3 AT-ST's and some AT-PT's I have supporting a Stormtrooper attack on a spaceport defended by 40K Imperial guards retreating to their drop ships .... maybe next Easter .....
|
|
Rank: Advanced Bloo Milk Member
Groups: Member
Joined: 3/14/2009
Posts: 1,728
|
|
|
Rank: Advanced Bloo Milk Member
Groups: Member
Joined: 7/26/2010
Posts: 1,390
Location: Florida
|
Just wait till you see what I just started working on now.
|
|
Rank: Advanced Bloo Milk Member
Groups: Member
Joined: 3/14/2009
Posts: 1,728
|
That Trooper Cart technical defies words, how did you make it?
|
|
Rank: Advanced Bloo Milk Member
Groups: Member
Joined: 9/19/2008
Posts: 1,740
Location: Orange County, CA
|
corranhorn wrote:That Trooper Cart technical defies words, how did you make it? "Technical?" The projector is from the AT-43 game, the two wing guns in the back are leftovers from Flash Speeder mods I did and the sitting mini on the side of the cart is a Dark Hellion biker I cut off his bike and repainted. I created it to use as a "Sensor Array."
|
|
Rank: Advanced Bloo Milk Member
Groups: Member
Joined: 3/14/2009
Posts: 1,728
|
I thought I recognized those guns...
Btw, I guess I'm not sure if technical fits here. I've seen it used to refer to pickup trucks outfitted with MGs. And since I'm used to just seeing the troop cart, it popped up, heh.
|
|
Rank: Advanced Bloo Milk Member
Groups: Member
Joined: 3/14/2009
Posts: 1,728
|
Gotta be the first time I've ever seen Bullywugs guarding an Ithorian! 
|
|
Rank: Advanced Bloo Milk Member
Groups: Member
Joined: 9/19/2008
Posts: 1,740
Location: Orange County, CA
|
corranhorn wrote:Gotta be the first time I've ever seen Bullywugs guarding an Ithorian!  I made a card and called them ná- Hutt Guard; kind a mutant miniature Hutt because their face is so hutt-like.
|
|
Rank: Advanced Bloo Milk Member
Groups: Member
Joined: 8/26/2011
Posts: 915
|
quite the handy resource this is! Im keen to learn more on how people achieve particular effects, such as water, ice, fire, forcefields/energy barriers etc.
Thanks for sharing!
|
|
Rank: Advanced Bloo Milk Member
Groups: Member
Joined: 3/14/2009
Posts: 1,728
|
Has anyone tried making a city with 3D terrain? I've been mulling this over for some time, it could be quite fun for big battles. (Plus taking pics of it would give me an excuse to show off all the awesome customs Darthbane53 has graciously made for me  ) I think a lot of it would have to be WH40K etc terrain, which dosen't look at all out of place in Star Wars.
|
|
Rank: Advanced Bloo Milk Member
Groups: Member
Joined: 7/26/2010
Posts: 1,390
Location: Florida
|
corranhorn wrote:Has anyone tried making a city with 3D terrain? I've been mulling this over for some time, it could be quite fun for big battles. (Plus taking pics of it would give me an excuse to show off all the awesome customs Darthbane53 has graciously made for me  ) I think a lot of it would have to be WH40K etc terrain, which dosen't look at all out of place in Star Wars. Having only done one full map for heroclix im still quite new at this. Now im working without a grid so everything doesnt have to be exact but Im starting with rock terrain and such, as its MUCH more easy. For the most simple reason is paint. You have to keep in mind SPRAY PAINT EATS FOAM. Some colors more than less (I think white is the worst) and supposedly you can buy latex spray paint which shouldn't eat it, but I got some and tryed it and dont remember what was wrong but I didnt like it and immediately brought it back to the store. Also it depends how thick you spray it on, but if you do it to much the paint will dissolve the foam. Now when making rocks this is a plus! It gives you more of a random craggy pattern. (Ill post some of my pics today some time) I have a friend who said hes gonna teach me how to do buildings. Im a noob too, but if you have never done anything I wouldent suggest a city scape. But if you want to more power to ya! kobayashimaru wrote: quite the handy resource this is! Im keen to learn more on how people achieve particular effects, such as water, ice, fire, forcefields/energy barriers etc.
Thanks for sharing! First off thanks for commenting on just about everything I do, I know I dont usually respond but I greatly appreciate that. Second off youtube and google are your best friends. There are people who know every trick of the trade and then some. With my limited knowledge heres what I can share  Water: You can but a solution that makes clear water that you can stick derbies in and looks totally authentic, though it costs some where around $20.00. I still haven't tryed it but I heard using clear dry silicone works just as well and is about $4.00. Gonna try that out soon.  Fire: A popular tool is dried hot glue as you can achieve that translucent effect as well as the 'spikes' of the flame. I have not tryed this yet. I prefer using green stuff. You loose the translucentness but it looks just like fire. (Ill post some bon fires I made today)  Forcefields: What I would use to make these, I forget who (probably voren chalco or markedman) used what I believed to be (and what I would use) a strip cut out from an apple juice botte. Its thick and clear, so all you need is a sharpie to color it and its still translucent and colored to what you want. Hope this helps! 
|
|
Rank: Advanced Bloo Milk Member
Groups: Member
Joined: 3/14/2009
Posts: 1,728
|
To be fair, I'd be going primarily gridless with the cityscape. It would be next to imposinle to try otherwise, haha! I think gridless rules wouldn't be too hard to work out. (Since the squares are 1', I can tell that a gidless system could work. Not suggesting just counting squares by measuring inches, though. That would NOT work lol). However, it is preferable to see a girdded 3D setup, like that foam one. Just sort of clicks more.
|
|
Rank: Advanced Bloo Milk Member
Groups: Member
Joined: 9/19/2008
Posts: 1,740
Location: Orange County, CA
|
corranhorn wrote:To be fair, I'd be going primarily gridless with the cityscape. It would be next to imposinle to try otherwise, haha! I think gridless rules wouldn't be too hard to work out. (Since the squares are 1', I can tell that a gidless system could work. Not suggesting just counting squares by measuring inches, though. That would NOT work lol). However, it is preferable to see a girdded 3D setup, like that foam one. Just sort of clicks more. I'm lucky in that I have 4 maps each of the blank sand and black metal; and it you combine the maps that almost 8x8 feet ... plenty map! I've used the sand maps for desert hideaways, Temples, Tatooine type areas and used the metal maps for spaceports and city areas. My biggest map was a spaceport adjacent to an abandoned temple/hideout for smugglers.
|
|
Rank: Advanced Bloo Milk Member
Groups: Member
Joined: 3/14/2009
Posts: 1,728
|
surf_rider56 wrote:corranhorn wrote:To be fair, I'd be going primarily gridless with the cityscape. It would be next to imposinle to try otherwise, haha! I think gridless rules wouldn't be too hard to work out. (Since the squares are 1', I can tell that a gidless system could work. Not suggesting just counting squares by measuring inches, though. That would NOT work lol). However, it is preferable to see a girdded 3D setup, like that foam one. Just sort of clicks more. I'm lucky in that I have 4 maps each of the blank sand and black metal; and it you combine the maps that almost 8x8 feet ... plenty map! I've used the sand maps for desert hideaways, Temples, Tatooine type areas and used the metal maps for spaceports and city areas. My biggest map was a spaceport adjacent to an abandoned temple/hideout for smugglers. Oooh! Do you have pics? 
|
|
Rank: Advanced Bloo Milk Member
Groups: Member
Joined: 9/19/2008
Posts: 1,740
Location: Orange County, CA
|
corranhorn wrote:surf_rider56 wrote:corranhorn wrote:To be fair, I'd be going primarily gridless with the cityscape. It would be next to imposinle to try otherwise, haha! I think gridless rules wouldn't be too hard to work out. (Since the squares are 1', I can tell that a gidless system could work. Not suggesting just counting squares by measuring inches, though. That would NOT work lol). However, it is preferable to see a girdded 3D setup, like that foam one. Just sort of clicks more. I'm lucky in that I have 4 maps each of the blank sand and black metal; and it you combine the maps that almost 8x8 feet ... plenty map! I've used the sand maps for desert hideaways, Temples, Tatooine type areas and used the metal maps for spaceports and city areas. My biggest map was a spaceport adjacent to an abandoned temple/hideout for smugglers. Oooh! Do you have pics?  .... well, most of the above pics .... there might be a few scattered around the internet or in WOTC that I've forgotten about ....
|
|
Rank: Advanced Bloo Milk Member
Groups: Member
Joined: 3/14/2009
Posts: 1,728
|
Wait, is the Sith Temple next to the spaceport
|
|
Rank: Advanced Bloo Milk Member
Groups: Member
Joined: 9/19/2008
Posts: 1,740
Location: Orange County, CA
|
corranhorn wrote:Wait, is the Sith Temple next to the spaceport The Sith Temple is where the Jedi are attacking to free the prisoners of the Temple (the ones where the Storm Giant/statue is in the courtyard.
|
|
Rank: Advanced Bloo Milk Member
Groups: Member
Joined: 3/14/2009
Posts: 1,728
|
N, I know, but...nvm. I'm too confused. 
|
|
Rank: Advanced Bloo Milk Member
Groups: Member
Joined: 8/30/2012
Posts: 835
Location: The Batcave Ota Gotham, Naboo
|
That looks like so much work! How many of these have you guys done?
|
|
|
Guest |